FREE SHIPPING on every order of $100 or more. No discount code needed.

5% OFF every order of $750 or more. No discount code needed.

Need a custom sign? Transform your design into reality. Get started

The More You Spend, The More You Save

Get free shipping and 5-15% off your order with our tiered discounts.

Closeup of hands placing a cast metal letter on a drill pattern.

Sign Installation Resources

How you install a sign depends on its design and mounting type. Review the mounting options below to find installation resources and learn more.

Mounting Types

  • Letter R with double-sided tape sign mounting.

    Double-Sided Tape Mount

    Strips of VHB tape are applied to the back of the product. This option is only warrantied for interior, flat, drywall installations.

  • Letter R with stud mounts on the back.

    Stud Mount (Back)

    1/4" thick or thicker sign elements are drilled and tapped on the back to receive threaded studs. 1/8" thick sign elements are too thin to be drilled so plastic blocks are attached to receive the threaded studs.

  • Letter R with pad mounts.

    Pad Mount

    Plastic pads are glued to the back. These are mounted using construction grade adhesive on the pads, and sticking the letters on a wall.

  • Letter R with full coverage double-faced tape on the back.

    Full Coverage Double-Sided Tape

    Letters have either fully or partially covered backs with a VHB, double-faced tape. This option is only warrantied for interior, flat, drywall installations.

  • Letter R with combination mounts on the top and pad mounts on the bottom.

    Combination Mount

    Have studs through a pad on the top portion of each letter and pads on the bottom portion. Often used for mounting on uneven surfaces. Sign elements must be 6" or taller.

  • Letter R with combination mounts on the back.

    Combination All Mount

    Have studs through a pad inserted on the top and bottom portions of each letter. This is often used for installations on uneven surfaces. Sign elements must be 6" or taller.

  • Letter R without mounting hardware.

    No Mount

    The letters have neither mounting holes nor hardware.

Installation Videos

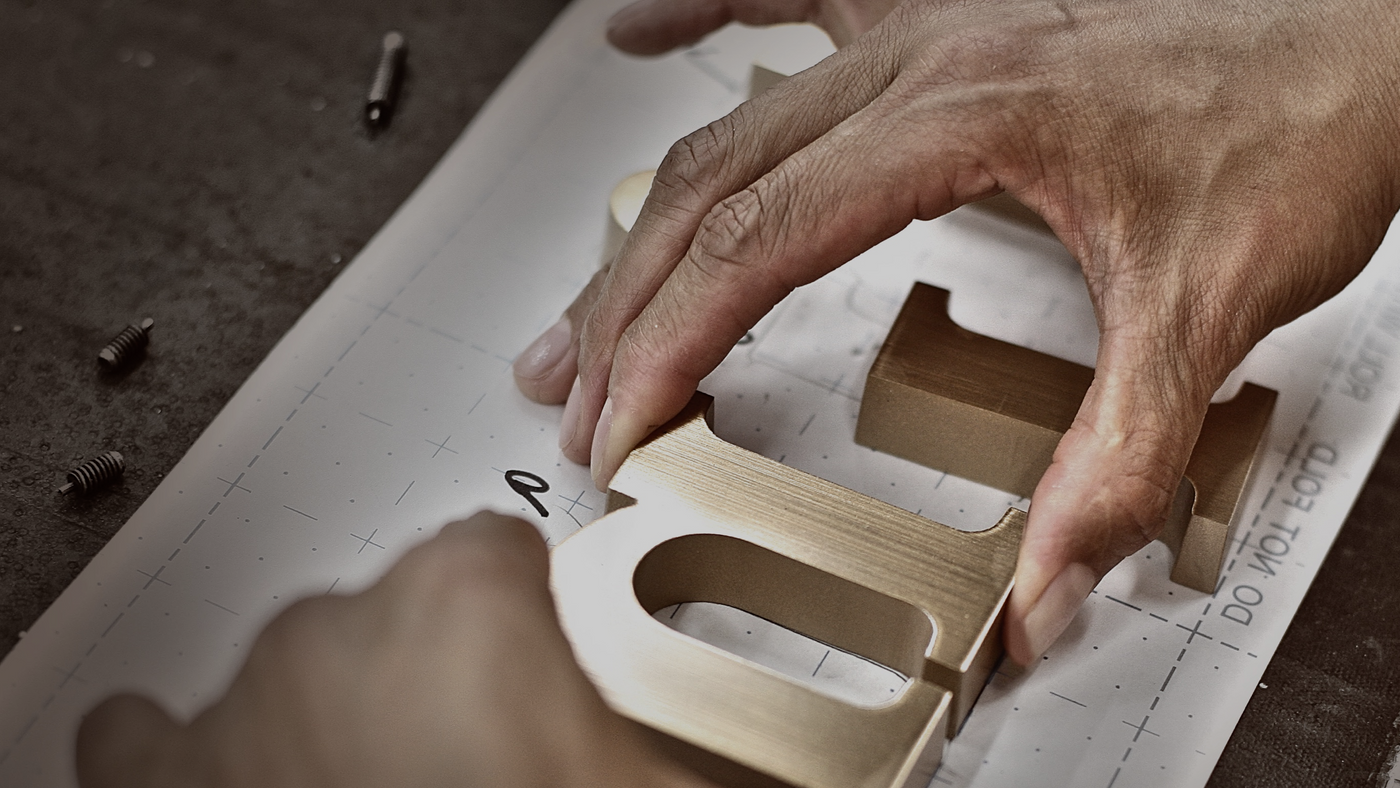
How to Install Double-Faced Tape Mounted Signs Using a Rigid Stencil Guide

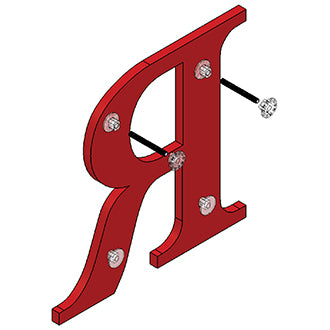
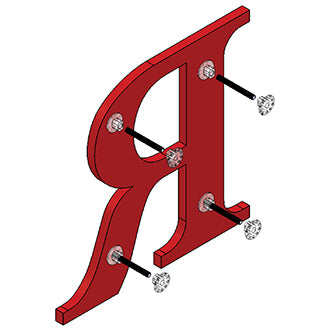
How to Install Stud Mounted Signs Using a Drill Pattern

Mounting Guides

  • Example of a drill pattern mounting template used to install building sign letters with stud mounting.

    Drill Pattern

    Our drill patterns are computer-generated tracings of your sign design with mounting hole locations. They are printed on durable, tear-resistant paper that is 54 inches tall and as wide as needed for your design.

  • A rigid stencil sign mounting guide with a hand lifting one letter out of the guide.

    Rigid Stencil Guide

    A rigid stencil guide is made by cutting out your sign's design from a piece of cardboard. This guide is then taped to the wall and each piece of your sign is set inside its corresponding cutout location to stick it to the wall.

  • A worker creating a spacing guide to assist with the installation of sign letters.

    Spacing Guide

    Our spacing guide is a 2 inch roll of paper with marks indicating the bottom portion of each sign element.